
Building Tips
When gamers and game critics talk about ‘4X games,’ they’re talking about games like Civilization, where the goal is to “Explore, Expand, Exploit, Exterminate.” Satisfactory is kind of a 4X game, too, though it’s quite different from those turn-based affairs. In Satisfactory, your goal is to Explore, Exploit, Expand, Excel (for the profit of the Ficsit Corporation).
Expanding–building out your factory–is how you’ll spend the vast majority of time in your game. We have a Satisfactory beginner’s guide with some general ideas to get the most out of the game early on, but building is such a big thing that we wanted to dive into it separately.
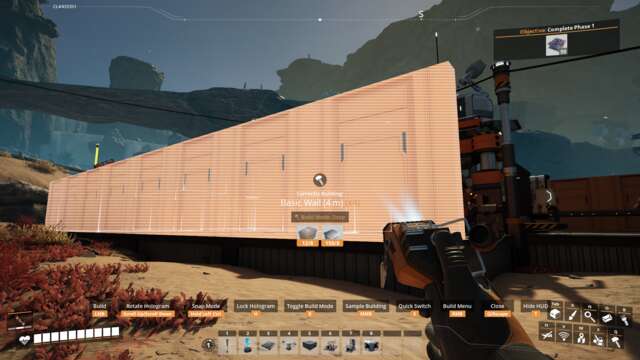
Change the color of your build holograms
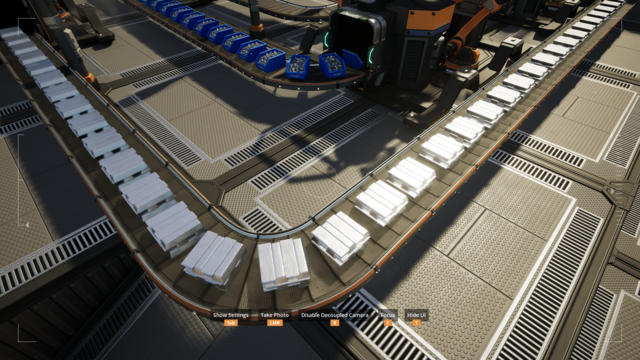
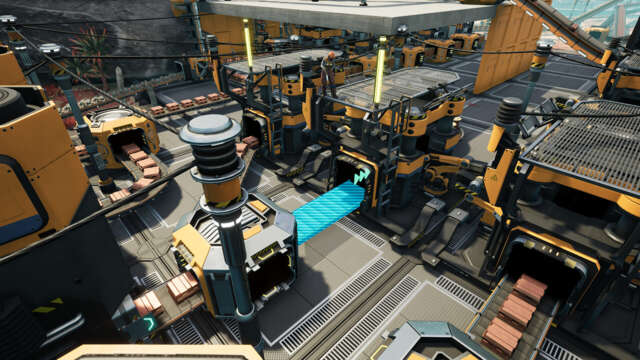
When you select a building to put down, it will be represented by a hologram until you hit the build button. By default, these holograms are bright blue, but you can change the color. This can be an aesthetic choice, of course, but it’s also a choice for accessibility and readability. Changing your holograms to black or white can make it easier to see the connection nodes on the item you’re placing. Just about every structure you can build has input and output ports, which are highlighted on the hologram with green and orange arrows. If you’re feeding a smelter into a constructor into an assembler, making sure those are all oriented the right way is key, and a neutral color like black of white can make it easier to see those colorful arrows.
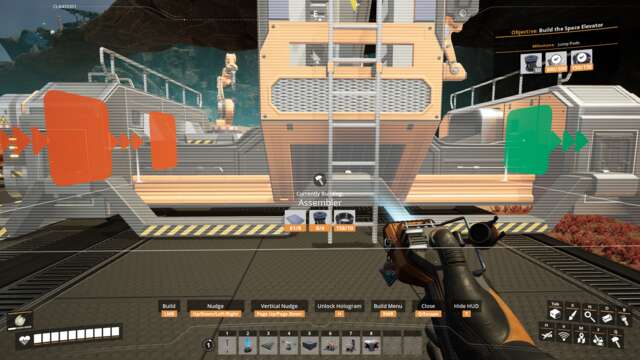
CTRL and Nudge your builds
When building directly on the ground, whether you’re placing a machine or a concrete foundation, Ctrl will lock you to the World Grid, which helps ensure that things can line up, even in wildly different areas of the map. Once you’ve set a foundation down, the next step is to place a building, and placement is crucial. The first-person perspective is great for Satisfactory, but when you’re trying to do precise placement in tight quarters, it just isn’t enough on its own. Hit the H key to lock your hologram–the pre-built visualization–into place. You can even lock an unbuildable hologram. Because what you’ll do next is, using the arrow keys, nudge the hologram into the exact spot you want it, and then build it. Building things in precise lines is, of course, aesthetically pleasing, but it also makes laying conveyor belts and tracking them much easier.
Concrete Foundations all use the same amount of materials
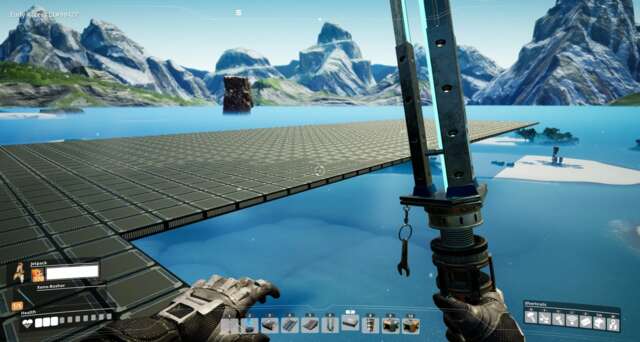
You might not use too many slabs early on, but they’ll eventually become the canvas upon which you’ll create your precise, relentlessly efficient art. Every concrete slab costs the same–5x concrete and 2x of a specified customizer material, such as iron plates. This is regardless of size, shape, color, or which customizer material you choose. As such, when you’re building a new field of slabs to build upon, don’t hesitate to just build with that 4m foundation.
There are lots of ways to hide your power lines
Power lines are an absolute necessity in Satisfactory, but they’re also the biggest eyesore, hands down. As such, you might want to find a way to hide these from view. The thing to remember is that power lines can clip through anything–meaning that the line connecting your Constructor to your power source can disappear into the floor or ceiling. By creating a logistics floor–a floor meant to hide all the messiness of imperfect conveyor belts and the like–beneath your factory floor, you can place Wall Outlets on the ceiling of that subfloor and connect your cables down through the floor, making them entirely invisible. Or you could put the power outlets on the ceiling above your machines and connect them vertically up to a logistics floor, leaving them visible but organized and out of the way.
Selective Multi-Select Dismantle
Getting a factory right means dismantling almost as much as building. You can hold Ctrl while selecting something with the dismantle tool to start selecting everything your cursor touches, but what if you want to, say, the indecipherable mess of power poles and power lines filling your factory floor? That’s what the Selective Multi-Select Dismantle tool is for. This action is bound to your mouse thumb button by default. Once you’ve selected an item with your dismantle tool, click that thumb button (or whatever key you’ve rebound it to) to start selecting all of that specific item. You can save your mouse over your factory floor and select only the power lines instead of having to precision click 100 times. This can also be useful when you use beams as a guide to build a curved road or some cosmetic building supports, and want to delete the beams. This is a huge time saver, especially when overhauling a factory floor.
Copy and Paste
When you’re building out a new production line, you’ll often find yourself building the same items in sequence, often with the same settings on a given device. You don’t have to go back to the build menu each time you want to switch structures, though. Instead, click on the item you want to build more of with the middle mouse button, and you’ll be able to put down another one of the same items, including the same settings. This is also great when you’re using signs as lights and want to put lots of them down without having to set the color and luminance a dozen times over.
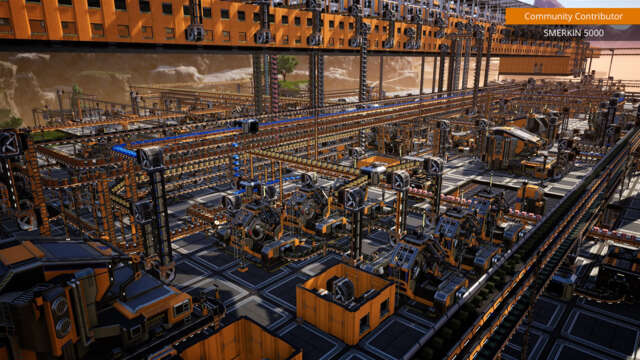
Stay Organized
It’s tempting to build what the Satisfactory community refers to as rat-tail factories–a long, endless string of machines connecting to machines. But that’s not sustainable. You’ll find a pair of pure iron nodes near that Rocky Desert starting point, for example. Eventually you’ll have Mk3 Miners on each, and those will lead to multiple Smelters, which will lead to Constructors producing iron plates, iron rods, and screws, which will lead to assemblers producing reinforced plates, leading to more Constructors producing modular frames, and so on, and you’ll need multiple machines producing some of those, or overclocked machines pumping them out at breakneck pace.
Laying all those machines on the ground is possible, but it quickly becomes harder to decipher than one of those “networking nightmare” photos where hundreds of cables are all jumbled together without labels. By the time you make it through the Tier 2 milestone, you have all the tools you need to really start building your factory in earnest, and that’s when you’ll want to start thinking about longer-term organization.
Right-Angle Pathways
Another part of aesthetic building that also ends up being function is building precise, easy-to-read conveyor belts and pipes. Once you’re putting down the belt, hit R on your keyboard to toggle between Default, Straight, and Curve building. The Straight mode will ensure that anytime your belt turns, it’ll be at a 90-degree angle. Default mode will do its best to find a path from the start to end point, and will often not be pretty. Curved mode will try to lay your belts at a gentle curve, which can allow for some more expressive building, especially if you’ve built some items that aren’t on the World Grid and want to find the shortest easily readable path.
Be thoughtful with Power Lines
You can move power around your factory with power poles or outlets. Whatever you pick, each machine will need a cable connecting it to a power source. Once you’re ready to start building more permanent factory sections, it’s important to be thoughtful about how you lay power lines. You can, of course, drop power lines anywhere and run power lines in literally any direction. But on a large factory floor, this can quickly lead to visual static. Instead, use markers like the corners of foundations to place your poles at even increments. If you place your machines against a wall, another method is to place an outlet behind each machine, and then do the dirty work of connecting it all behind the wall. And that leads us to the fact that you can…
You can hide anything with a wall (or floor)
As Edgar Allan Poe taught us, you hide even the most annoying messes with a properly placed wall. The same holds true for Satisfactory. As with so many elements of the game, this serves both aesthetic and organizational purposes. Some players use what’s called a “logistics floor” to hide the complexities of their factory so that they can more easily make sense of the production lines. A logistics floor is a floor that sits in between factory floors, and is meant to hide all of that stuff.
You can also paint walls different colors using the Customizer tab in the Build menu, specifying a given building as a copper production building, or a specific floor as an assembler floor. But it also just makes it look and feel less like you’re camping inside a sea of machines, and it’s a nice way to “finish” a particular area of your factory.